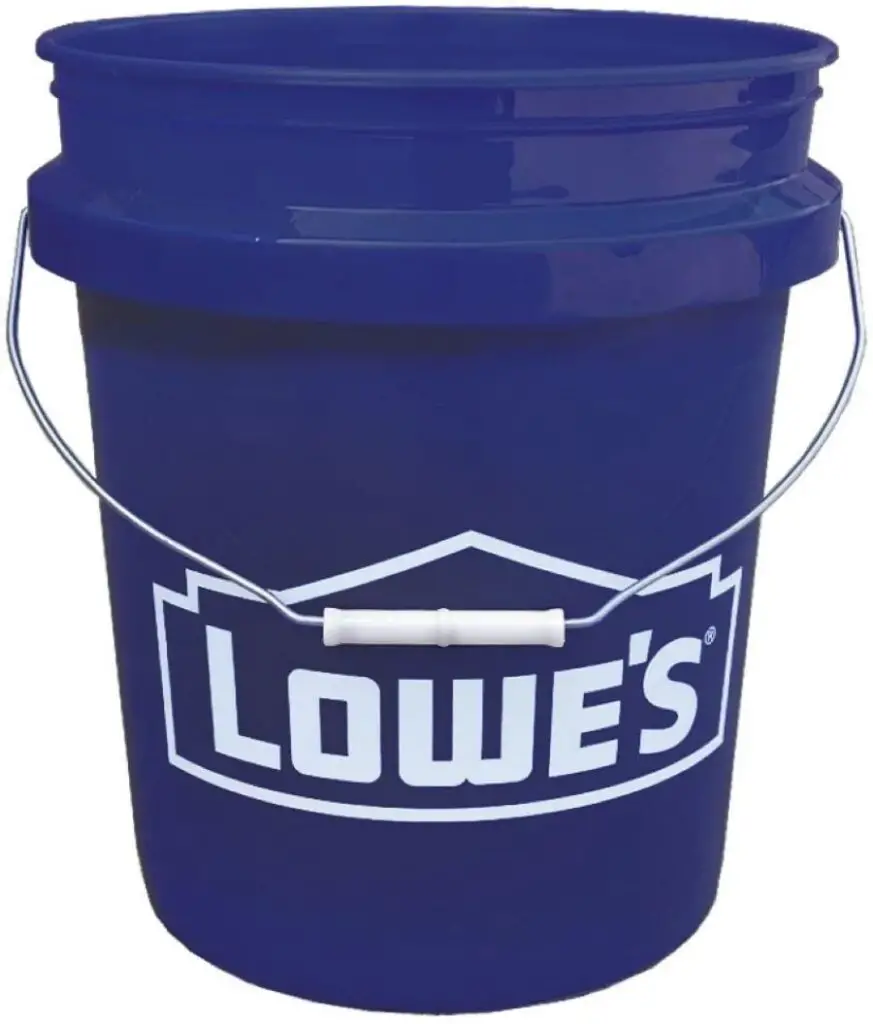
While sous vide immersion circulators and water baths specifically designed for sous vide can cost $200 or more, many home cooks have found ways to hack together DIY sous vide setups using common household items. One popular sous vide hack is to use a basic 5-gallon plastic bucket as the cooking container. With a few additional supplies, a 5-gallon bucket can become an effective sous vide vessel.
Sous Vide Products I Use Every Day
As an Amazon affiliate, I earn from qualifying purchases.

![IMPRESA [10 pack] Sous Vide Magnets to Keep Bags Submerged & In Place - Sous Vide Accessories to Stop Floating Bags & Undercooking - Great Alternative to Sous Vide Weights, Balls, Clips, & Racks](https://m.media-amazon.com/images/I/41zHpl8G2lL._SL160_.jpg)

Last update on 2024-07-12 / Affiliate links / Images from Amazon Product Advertising API
1. Large Cooking Capacity
One of the biggest advantages of using a 5-gallon bucket for sous vide is the large cooking capacity. Many basic sous vide machines only hold a few gallons of water, limiting how much food you can cook at one time. But a 5-gallon bucket provides enough space to cook large cuts of meat or multiple portions at once. The extra room also allows you to cook foods that need more space to be fully submerged, like racks of ribs or whole chickens. For larger dinner parties or meal prepping, the spacious 5-gallon bucket sous vide setup is ideal.
2. Cost-Effective Option
Outfitting your kitchen with a dedicated sous vide water bath or container can cost a minimum of $75 to well over $300 for higher-end models. In contrast, food-grade 5-gallon buckets can readily be found for $5 to $10 each. With the addition of an inexpensive sous vide circulator and a few other supplies, you can construct a DIY sous vide system for a fraction of the price of buying a premade unit. The ability to replicate sous vide cooking for cheap makes 5-gallon buckets a cost-effective alternative to fancy sous vide machines.
3. Easy to Find and Replace
Standard 5-gallon plastic buckets are easily sourced from hardware stores, restaurant supply stores, big box stores, and online retailers. Their ubiquity makes it simple to buy an affordable 5-gallon bucket locally or have one conveniently shipped to your door. If the bucket eventually wears out after repeated use, replacing it is cheap and hassle-free. The ease of finding and switching out 5-gallon buckets as needed is a benefit over sous vide cookers with more specialized designs or plastic molds.
How to Set Up a 5-Gallon Bucket for Sous Vide Cooking
With its strengths laid out, how do you go about transforming a basic 5-gallon bucket into a fully functional sous vide bath? Here is a step-by-step guide:
1. Choose the Right Bucket
Not just any 5-gallon pail will work for sous vide. You want an FDA-approved food-grade plastic bucket made from HDPE (high-density polyethylene). Food buckets should have the #2 recycling symbol on the bottom. Make sure it has no cracks, odors, or residue before using. Also verify that the bucket you select is BPA-free to avoid leaching any harmful chemicals.
2. Insulate the Bucket
Unlike many sous vide machines, a plastic bucket does not have built-in insulation to retain heat. To prevent temperature fluctuations, you need to insulate your DIY water bath. Some options are:
- Wrap the bucket in towels or blankets
- Use insulation like foam board underneath and around the sides
- Place the bucket inside a larger insulation-filled container
The goal is maintaining reliable temperature control for consistent sous vide results. Be prepared to monitor and adjust insulation levels to stabilize temperatures.
3. Attach the Sous Vide Circulator
A key piece of equipment for any sous vide setup is an immersion circulator. This sous vide stick clips to the container and works to circulate the water while heating it to the target temperature. Attach your immersion circulator to the side of the 5-gallon bucket by firmly clamping it onto the upper rim. Ensure a tight, secure fit.
4. Fill the Bucket with Water
With the circulator affixed, it’s time to fill the bucket. Pour filtered water into the bucket until it reaches the maximum fill line on your immersion circulator. Avoid overfilling. The amount of water needed will depend on the power of your sous vide stick, typically 2 to 5 gallons.
5. Prepare and Seal the Food
Get your food ready for sous vide by trimming, seasoning, and vacuum sealing it in plastic pouches. Make sure no air remains sealed in the bags. Use ample water displacement to fully submerge each bag in the water. For optimum control, only cook food items with similar thickness and density together.
6. Cook and Monitor the Temperature
Turn on your circulator and set it to the precise temperature needed for what you are cooking. Monitor the temperature using the readout on your immersion circulator and adjust insulation or water level if needed to maintain steady temps. Cook for the specified time, checking periodically on the doneness. Enjoy perfect sous vide cuisine using your DIY 5-gallon bucket setup!
Potential Issues with Using a 5-Gallon Bucket for Sous Vide
While a 5-gallon bucket can absolutely be utilized for sous vide cooking, it does come with some downsides compared to a purpose-built sous vide container. Be aware of these potential issues:
1. Heat Retention and Stability
Maintaining even, stable temperatures is crucial for properly cooking sous vide. Because plastic buckets lack internal insulation, the water bath can lose heat quickly once the sous vide circulator turns off or is removed. The temperature can also fluctuate during cooking if insulation is insufficient. Close monitoring and frequent adjustment is required.
2. Food Safety Concerns
Food grade plastic buckets are generally safe, but over time, small scratches in the plastic may harbor bacteria. Hard-to-clean ridges around the interior sides also raise the risk of bacterial growth over repeated use. Proper cleaning and replacing scratched buckets helps mitigate this issue. But pristine restaurant-grade stainless steel sous vide baths are inherently safer.
3. Durability and Longevity
5-gallon buckets are not designed for the extended hot water baths of sous vide cooking. They can become brittle and degraded over time with prolonged heat exposure. Cracking or warping may eventually occur, causing leaks and ruining the sous vide vessel. Lifespans are limited compared to commercial sous vide containers.
Alternatives to 5-Gallon Buckets for Sous Vide Cooking
If the drawbacks of DIY plastic buckets have you reconsidering, here are some alternative sous vide vessel options:
1. Sous Vide Containers
Purchasing an actual sous vide container gives you a purpose-built vessel for long cooks. Look for restaurant-grade stainless steel models with integrated insulation and rounded corners for easy cleaning. They provide the most reliable temperature control and longest lifespans.
2. Large Stockpots
Heavy-duty stockpots designed for commercial use work well for sous vide cooking. Look for a tall, narrow shape with 8+ quart capacity. The stainless steel ensures durability. Combine with insulation wraps or DIY foam insulation. Stockpots are an affordable alternative to costly sous vide machines.
3. Coolers
For large-capacity sous vide cooking, a picnic cooler can convert into an insulated water bath. Choose a mid-size 48-to-94 quart cooler without a drain plug. The thick plastic walls and airtight lid lock in heat for excellent temperature stability. Just be sure to thoroughly clean and sanitize coolers before each use.
Conclusion: Is a 5-Gallon Bucket Suitable for Sous Vide Cooking?
In summary, utilizing a basic 5-gallon plastic bucket is certainly a viable DIY method for getting started with sous vide cooking at home. Given the right construction, preparation, and monitoring, a 5-gallon bucket can successfully be turned into an improvised sous vide water bath. The low cost and large capacity are definite upsides to this approach.
However, the lack of proper insulation in a repurposed plastic pail does mean vigilance is required to maintain precise temperature control. And buckets ultimately fall short on long-term durability compared to purpose-built sous vide vessels. For cooks able to invest more, commercial stainless steel containers or specialized sous vide machines provide a superior controlled cooking environment.
But for anyone eager to test sous vide with minimal investment, don’t count out the ubiquitous and humble 5-gallon bucket. With a bit of DIY resourcefulness, satisfactory sous vide cooking can absolutely be achieved using this budget-friendly hack.
