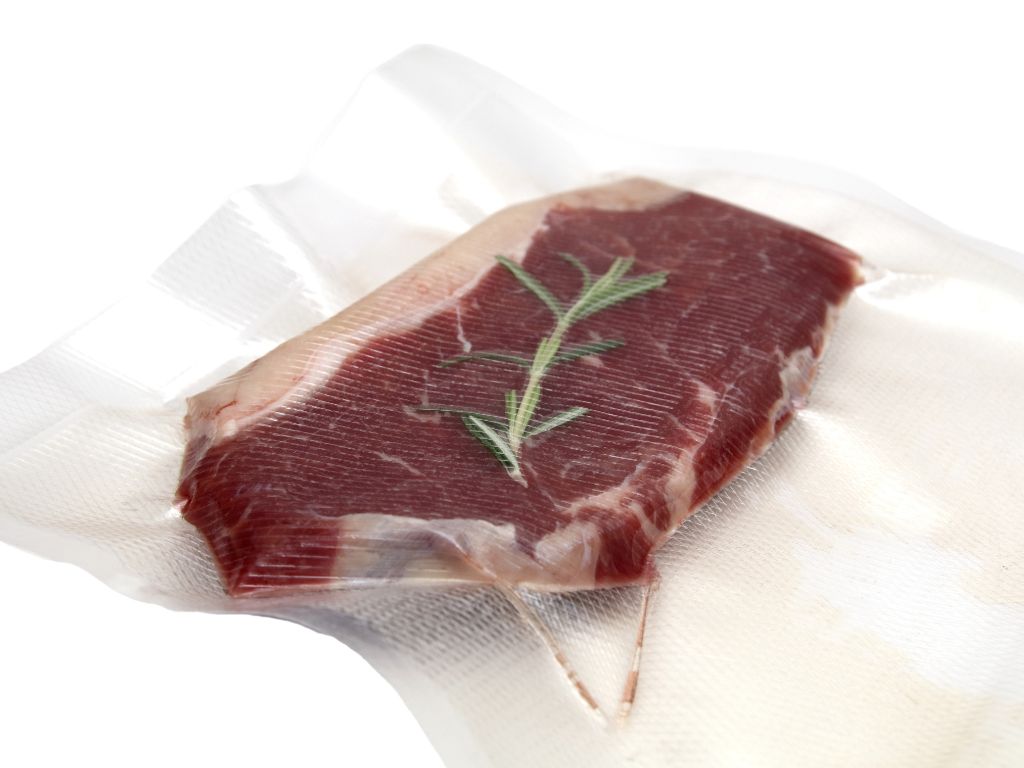
Sous vide cooking has become an increasingly popular technique for preparing meats to perfection. The process of cooking vacu-sealed foods in a precisely temperature-controlled water bath allows you to achieve the ideal doneness from edge to edge without overcooking. But sous vide cooking alone doesn’t provide the delicious browned, crusty exterior that a good sear adds.
Knowing how long to wait after sous vide cooking before searing is key to getting the best results. Waiting too long can lead to a diminished sear, while not resting long enough can cause the meat to overcook. So what is the right amount of time to rest meat after sous vide before searing?

Sous Vide Products I Use Every Day
As an Amazon affiliate, I earn from qualifying purchases.
Last update on 2024-07-26 / Affiliate links / Images from Amazon Product Advertising API
Immediate Searing
Some chefs advocate searing immediately after removing the bagged meat from the sous vide water bath. The advantage here is that the meat is still piping hot, which helps it take on a good sear quickly. Searing right after sous vide can work well for thin cuts like chicken breasts, pork chops, fish fillets or steak tips.
However, searing delicate proteins like fish too soon after sous vide can lead to the flesh sticking and tearing when you go to remove it from the bag. And for thicker cuts, residual heat from the pan can cause overcooking while trying to develop a crispy crust.
Resting Period
A short resting period of 5-15 minutes is often recommended after removing meat from the sous vide cooker and before searing. This gives time for the temperature to even out within the meat, and for any residual surface moisture to evaporate.
Letting the meat rest after sous vide and before searing accomplishes a few things:
- Allows moisture to evaporate from the surface, helping the meat brown faster.
- Prevents overcooking from residual heat conducted from the hot pan.
- Gives time for the internal temperature to even out, avoiding cold spots.
For most 1-2 inch thick steaks, chops and poultry, a rest of 10-15 minutes is sufficient. For whole roasts or very thick cuts, up to 30 minutes may be needed.
Chilling Before Searing
Some chefs take the concept of waiting before searing a step further by actually chilling the meat after sous vide cooking. This technique, sometimes called “cryo-searing”, can produce excellent searing results.
Chilling sous vide meat for 1-2 hours firms up the surface and dries it out even more, creating ideal conditions for searing. The very cold exterior also buys you more time in the hot pan before overcooking the interior. Cryo-searing works especially well for cooking tough cuts like chuck roast or pork shoulder sous vide, ensuring they get a tasty crust without overcooking.
However, chilling and then re-heating meat can impact moisture levels, so it may not be ideal for delicate proteins. Thoroughly drying the surface and preheating the pan are usually sufficient for achieving a great sear on most cuts.
Factors That Affect Searing Time After Sous Vide Cooking
Several factors come into play in determining the ideal resting time between sous vide cooking and searing, including:
Thickness of the Meat
The thicker the cut, the longer it will retain heat after sous vide cooking. A thin 1-inch chicken breast may only need 5 minutes rest time, while a 2-inch ribeye could benefit from 10-15 minutes. More time allows the internal temperature to even out.
Desired Level of Doneness
If you sous vide meat to a more well-done temperature, chilling before searing becomes less critical since there is more leeway before overcooking. But for rare to medium doneness, you’ll want to minimize carryover cooking.
Type of Protein
The density and moisture content of the meat impacts how quickly it cooks. Delicate fish may only need a couple minutes rest, while fatty pork shoulder benefits from more time. Tougher cuts also tend to cook more slowly.
Searing Method
Super hot searing techniques like using a ripping hot cast iron skillet or torch allow for less resting time compared to lower temp grilling. The intense heat sears the surface rapidly before overcooking the center.
Tips for Achieving the Perfect Sear After Sous Vide Cooking
Follow these tips for getting the best possible sear on your meat after sous vide cooking:
Pat the Meat Dry
Whether searing immediately or after resting, be sure to thoroughly dry the surface of the meat with paper towels. Any moisture will steam and boil rather than browning.
Use a High Smoke Point Oil
Choose a high smoke point oil like avocado, grapeseed or refined olive oil. The oil must be hot enough to sear rather than steaming the meat.
Preheat the Pan or Grill
Allow your skillet, grill or other cooking vessel to fully preheat until smoking hot. Searing over high heat is key.
Don’t Overcrowd the Cooking Surface
Avoid crowding meat in the pan, which drops the temperature. Sear in batches if needed.
Monitor the Searing Time
Frequently flip and move the meat around for even searing. Use tongs rather than piercing with a fork to avoid releasing juices. Pay attention to sear without overcooking.
Conclusion: Finding the Right Balance for Your Sous Vide and Searing Process
With sous vide’s precise control, searing is what really gives your meat that finished flair. Allowing enough time for the meat to rest after sous vide, while also searing over high enough heat, results in the perfect melding of a flavorful crust with an evenly-cooked interior. Determining the ideal resting time comes down to understanding what you’re cooking and your desired doneness. Mastering the nuances of post-sous vide searing truly lets you get the best of both techniques on your meats.


![IMPRESA [10 pack] Sous Vide Magnets to Keep Bags Submerged & In Place - Sous Vide Accessories to Stop Floating Bags & Undercooking - Great Alternative to Sous Vide Weights, Balls, Clips, & Racks](https://m.media-amazon.com/images/I/41zHpl8G2lL._SL160_.jpg)


